We have really been enjoying our new-to-us couch on the screened porch! Mainly at night we lay out there and read- because it's too hot any other time of the day. But it will be perfect this fall, when it finally cools off, and we can sit out there to drink our morning coffee. :) So now I must show you how it turned out! There are still a few small things I might change but here is the before and after:
Btw, the blue/white throw pillows aren't for this, but I needed some for the picture so I stole these from another room. This was the 4th of July weekend so it kind of worked out and looked patriotic. :)
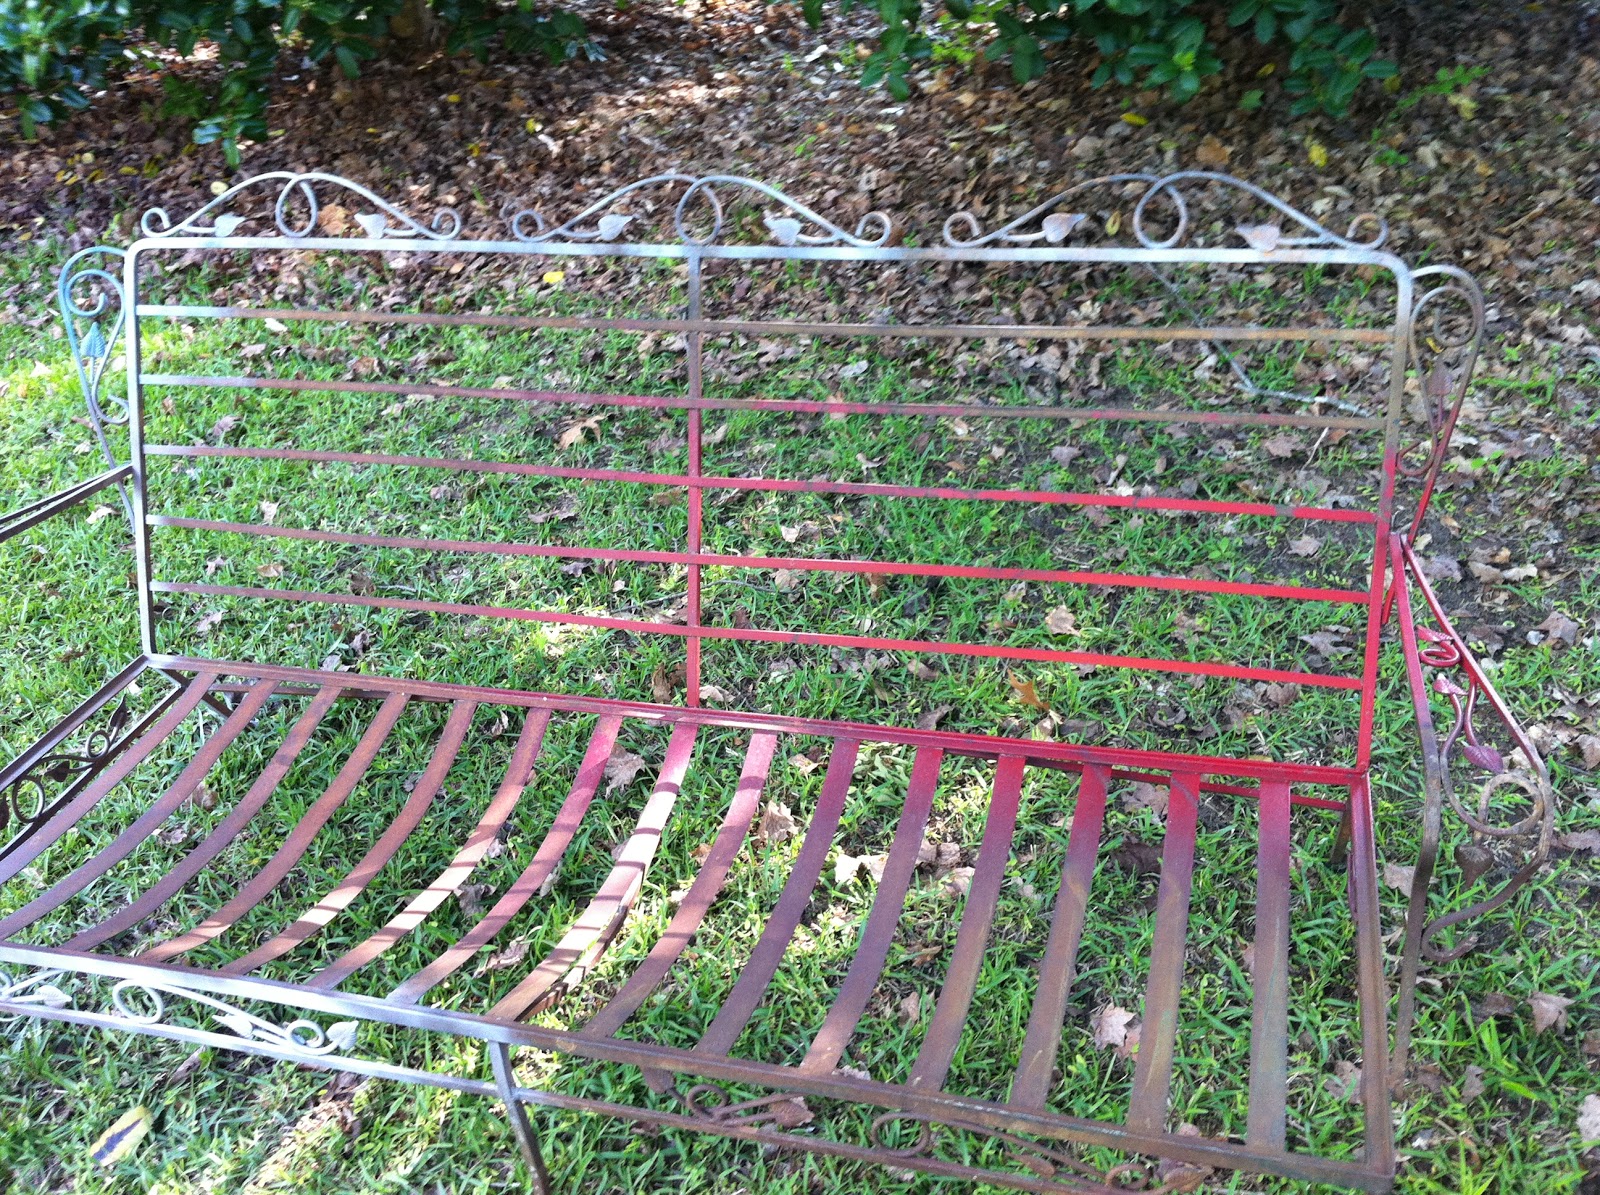
In the last post I told you about the seat and back cushions- all I had to do to finish it was make pillow covers. Well that's just what I did a couple of weekends ago! First, I found some outdoor fabric on sale from Jo Ann Fabrics' website- this canvas fabric is what I decided to use since it would be versatile, plus it was on sale for $7.99/ yard, as compared to the regular price of $19.99/ yard! I bought 5 yards just to be safe, and I have a ton of it left! :) But, better safe than sorry, right?
I found the red printed fabrics at Wal-Mart. The one I shop at doesn't have a fabric department anymore, but they have started selling these 2- yard, pre-cut packages of fabric. They were on sale for $5 each!
I really like the pattern on the right because it reminded me of this from West Elm:
So now to the part on how I made them. Items needed include: scissors, pins, fabric (of course), iron, and sewing machine.
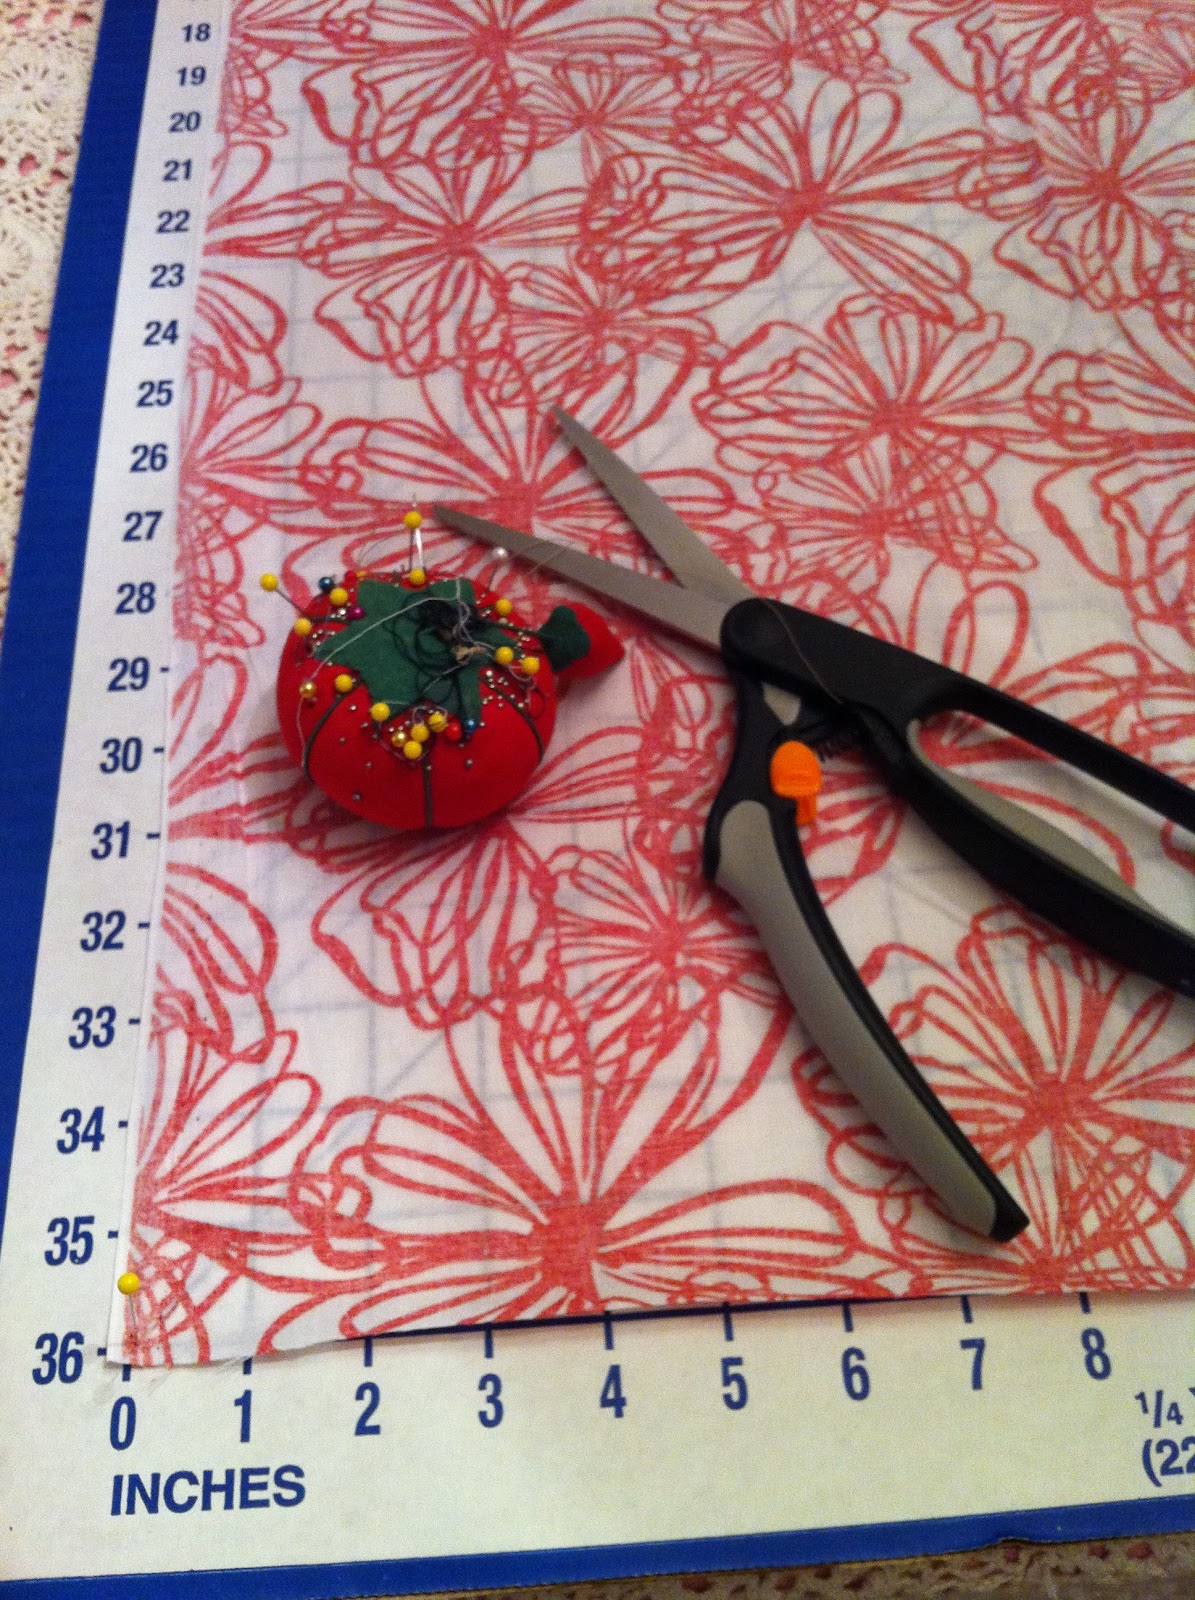
I used the same method to make each envelope sham that I found here. First, for the front of the euro sham, cut a piece of fabric 27" square (the pillow is 26" square). For the back, cut 2 pieces, each 15 1/2" tall and 27" wide (the same width as the front piece and half the height plus 2 inches). These measurements would allow an overlapping envelope to insert the pillow.
On the back of each smaller piece, fold the long edge of fabric over 1/4" toward the wrong side of the fabric (I ironed this to reinforce the fold), then fold it another 1/4". Pin and iron the edge before stitching it to make a hem.
Once this has been done for both pieces, pin the 3 pieces together. Lay the front piece of the euro sham fabric side up. Then lay the two back pieces fabric side down, with the hemmed edges overlapping each other.
Pin all around the edges of the sham and stitch them together using a a 1/4" seam allowance.
Finally you just turn the sham right side out and insert the pillow. Easy peasy! Now I just had to do this 4 more times! :)
Of course I had to change my measurements for the seat cushions as they are longer but I used the same calculations. We did have to make a minor change to the seat cushions. Because they are 4 inches thick, my mom mitered the corners of each sham to create that nice little edge. First, she measured 2 inches from the corner seam and marked that spot.
Then she drew a line connecting the 2 marks and stitched along that line.
Next, she trimmed off the excess fabric.
She did this for each corner and this extra step made the seat cushions look a little more "finished" if that makes sense. Of course, there are several different ways I could have made these covers, but this was a pretty easy process. Definitely a "beginner" sewing project. And it will be easy to change out the euro shams once I'm bored of the red print! :)
So here is another shot of our new favorite lounging spot!
Thursday, July 14, 2011
Wednesday, July 6, 2011
Outdoor couch transformation (part 1)
I hope everyone had a happy and safe 4th of July! The first night of our long weekend was spent at my mom's, visiting, eating and sewing. Yep, I was sewing- haven't done that since my high school Home Ec class! (ahh, Mrs. Phillips would be so proud) You see, for as long as I can remember, there has been this old, heavy iron couch at my parents' house. I can remember us using it years ago but it had kinda disappeared and was forgotten about.
That is until I took a recent trip home and discovered it out by my dad's workshop. Turns out this old couch once belonged to his mother, I'm guessing around 30- 40 years ago, maybe even longer. When I saw it, I thought I could probably work with it and maybe make it into a comfy lounger. I've wanted a couch on our screened porch for years but they are pretty expensive. I had to get the hubby's help to free it from the vines growing throughout and to load it so that we could bring it home. Here's how she looked when I got her home.
It was rusted almost all over and had a lot of red paint- I know that was probably from when my dad painted his tractor :) So first things first, I cleaned it, scrubbed it a little, and sprayed a coat of Rust-oleum primer all over.
Instant improvement, huh?
I thought for several days about what color I wanted to paint our new couch. I couldn't decide which route I wanted to go, so I got impatient and painted it a teal color I already owned.
So this is how it has looked for the past month or so- just sitting on our screened porch, uncomfortable and cushion-less. :( I looked everywhere for outdoor cushions to fit this couch, but I guess since it's an old piece of furniture, it doesn't really have the same measurements as new ones. The sitting area measures 64" x 22". When I did find something that might work, it was going to cost over $100 for the cushions. So I kept trying to think of an alternative.
I found a roll of foam at Hancock Fabrics, but quickly discovered that it would be pretty pricey for a 64" piece. Like $90 pricey, and I would still need to buy fabric. :( Also, I was afraid to use foam since this is on the screened porch- I don't want to have any mildew/ mold issues. I was about to leave when I saw this:
It's called Nu Foam and it's densified batting that is meant to be used as an alternative to foam. And it's mold/ mildew resistant, perfect for outdoor cushions- score! This was MUCH cheaper than foam and I got the 22" x 36" x 4" size. The 22" depth was perfect because the couch is 22" deep and the 4" thickness makes it plenty comfy. Since it's 36" long, and I needed 64", I needed to buy 2 of these. I don't remember exactly how much these were, but they were 40% off. I think I paid around $35 for both! I was pretty pleased with that!
A few days after I bought the seat cushions, I finally cut them down to size. I wanted each cushion to be the same size so I had to cut off 4 inches of length from each. This was pretty easy, just measure 4" from one end, mark it a few places, and then use the yard stick to draw an even line.
Next, it was on to the cutting part. I will say that this is a pretty messy step so expect a lot of white fuzz on the floor if you try this. First I tried cutting these with my good "fabric" scissors:
but they just didn't seem to do the trick as well as the trusty old Henckels kitchen scissors:
Once I had both cushions cut, I carried them outside to make sure they fit. Yay for correct measurements- it would've been a little embarrassing if I had messed those up!
Now, all I needed to find were some back cushions.
We have some euro pillows on our bed so I brought out 2 to see how they fit. It looked like 3 euro pillows would fit perfectly, and they would be comfy! Luckily, I had some coupons for JC Penny ($10 off a $10 purchase). I found these Serta euro pillows on sale for $14.99 each, and since I had 3 coupons, I got each of them for 5 bucks! (Yes, I was that person in line who had to pay for each pillow separately so that I could use all 3 coupons) haha :)
I got them home and found that 3 euro pillows did indeed fit the space perfectly.
So now, I just need to find some fabric to cover all of these pillows! Then I will finally have a comfy couch on my screened porch:) Stay tuned...
Subscribe to:
Posts (Atom)