So without further ado, welcome to picture overload!
*These were all just taken with my phone but I'll definitely use my good camera when I do the final reveal, just fyi ;)
 |
| Love the vintage look of the Jenny Lind crib |

 |
| We got this desk at a yard sale for $1! It had about 15 coats of white paint so lots of work was involved to remove all that paint! |
 |
| I'm thinking about using this to put her books on... Maybe in a wire basket? |
 |
| Charcoal curtains from West Elm to conceal the closets (please excuse the awful glare) |


 |
| Changing table ready for Baby Reynolds :) |
First I grabbed the letters for her initials "MRE" for $1.99 each. Then I headed to the scrapbooking aisle to pick out some paper that would coordinate with the bedding. I had the idea that I would cover the letters with the patterned paper but decided that it would probably look best if there was a frame involved. So I headed to the frame section and found a really cool weathered wood frame to use. It was $24 but I had a 40% off coupon to use for it. Total cost of this whole project was less than $25!
I decided the easiest way to cover the letters in the scrapbook paper would be to use a cutting board and an exacto knife because I wanted the edges covered as well. So I glued the letters face down on the back side of the paper and then traced around them with the knife. I left about 1/2"-1" on all sides to have enough to glue down on the back.
Step 1: glue letter face down

*I glued all the letters down at once so there would be plenty of time for them all to dry.


Step 2: Trace around letter with an exacto knife, leaving enough paper to fold over the letter. This would depend on the depth of your letter.

Step 3: Once the paper has been cut to size start folding it over and gluing it down. I treated the corners just as I would wrapping presents.
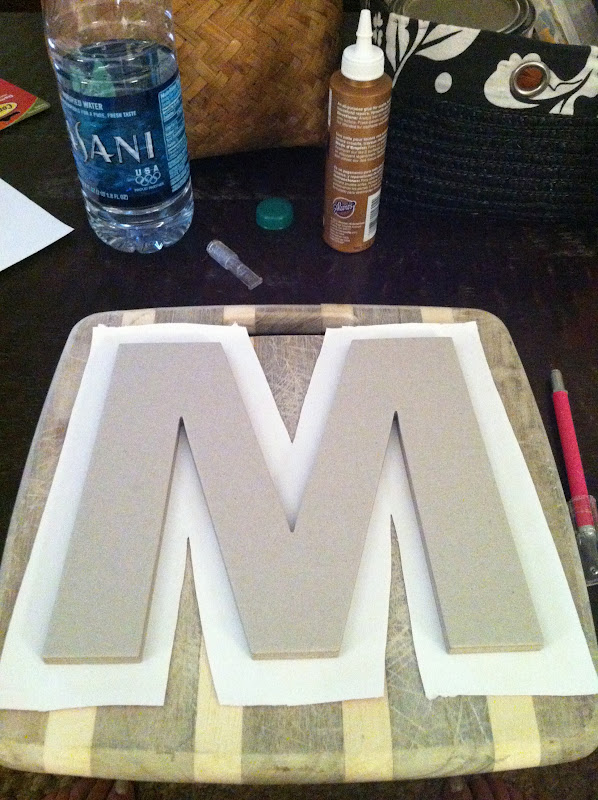
Step 4: Check for any spots that might need some extra paper, then start on the next letter. :)

I'd say it took me right around an hour to finish all of the letters. The R was probably the hardest because of all of the curvature. This required me slitting the paper in small sections to fold it over and then I had to add some extra paper once I was finished to a few bare places.
All in all, I was pretty pleased with how these turned out, especially since it was low cost!

Once I had the letters finished I recruited the hubby to help me hang them with the frame. We just used the 3M double-sided tape since the letters and frame were so light. I bought an open back frame so we didn't have to worry with the weight of the glass or backing to hang this.
Here it is hanging above Mary Reynolds' crib:

I like that it really adds a pop of color and also an element of rusticity. Here are a few more photos:


Oh, we decided to hang the antique printer tray that I mentioned a while back in this post above the fireplace. We plan to add a few little knick-knacks to some of the cubbies but for now, there are 2 sea shells and her name spelled out using Scrabble tiles.

I am planning to put some antique wooden clothespins in the clear apothecary jar and a piece of fabric in the embroidery hoop. This embroidery hoop belonged to my dad's mother so it's at least 50+ years old. There is also an old horseshoe and cowbell that I got from my dad's barn.
So that's the nursery for now, with plenty still left to do! We still need to get bamboo shades for the 2 doors and possibly the 2 windows, new bedding/ pillows for the day bed, a mirror to hang above the changing table, and finish the rocker. I'm sure there's more but that's all I can think of for now! It feels great to finally see some progress being made.
Aside from the nursery, here are some pics of our recent life happenings via Instagram !
 |
| Headed home with our 6 week old Apple Jax! |

 |
| Waylon is a great big brother and he loves his new play buddy! |
 |
| Jax gave it all he could for his first 1-mile walk but just couldn't quite make it back home ;) |
 |
| My 4 beautiful, sweet, wonderful nieces at the twins' 3rd birthday party. Being an aunt rocks! :) |
 |
| Lily :) |
 |
| Lola :) |
 |
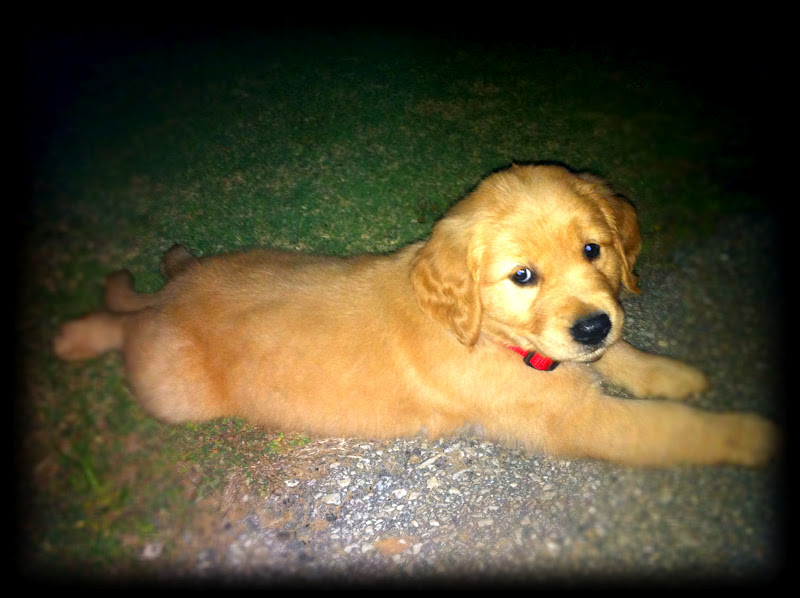
| Apple Jax - 7 weeks old |
 |
| 27 week bump... |
 |
| Jax's favorite nap spot, under the bed |
 |
| His favorite spot to chew on his bone... Reynolds' room :) |
 |
| Waylon and Jax would stay in here all the time if we let them... |
Hope everyone has a wonderful week!