
This is Matthew's full size bed from college and the frame sits way to low to the floor (I couldn't even fit an under-the-bed-storage container underneath). So I bought a set of 4 bed risers and I really like how it sits a little higher now.
For a while, we kept the neutral walls because we went through an 8 month period of trying to sell our house. Once we took it off the market, I was ready to throw some color on those walls! I went with Cafe Blue from Valspar because it was a mix of turquoise and baby blue (and I love turquoise). I wanted a serene color on the walls so that we could later add splashes of color in the decor. I'm very happy with the way this color turned out.

The next project on my list for this room was a headboard. I didn't want to spend a lot since it's for the guest room and one of the blogs I follow, the infamous Young House Love, conveniently posted directions on how to make an upholstered headboard. So I thought I'd give it a try; I mean, it couldn't be too hard, right?
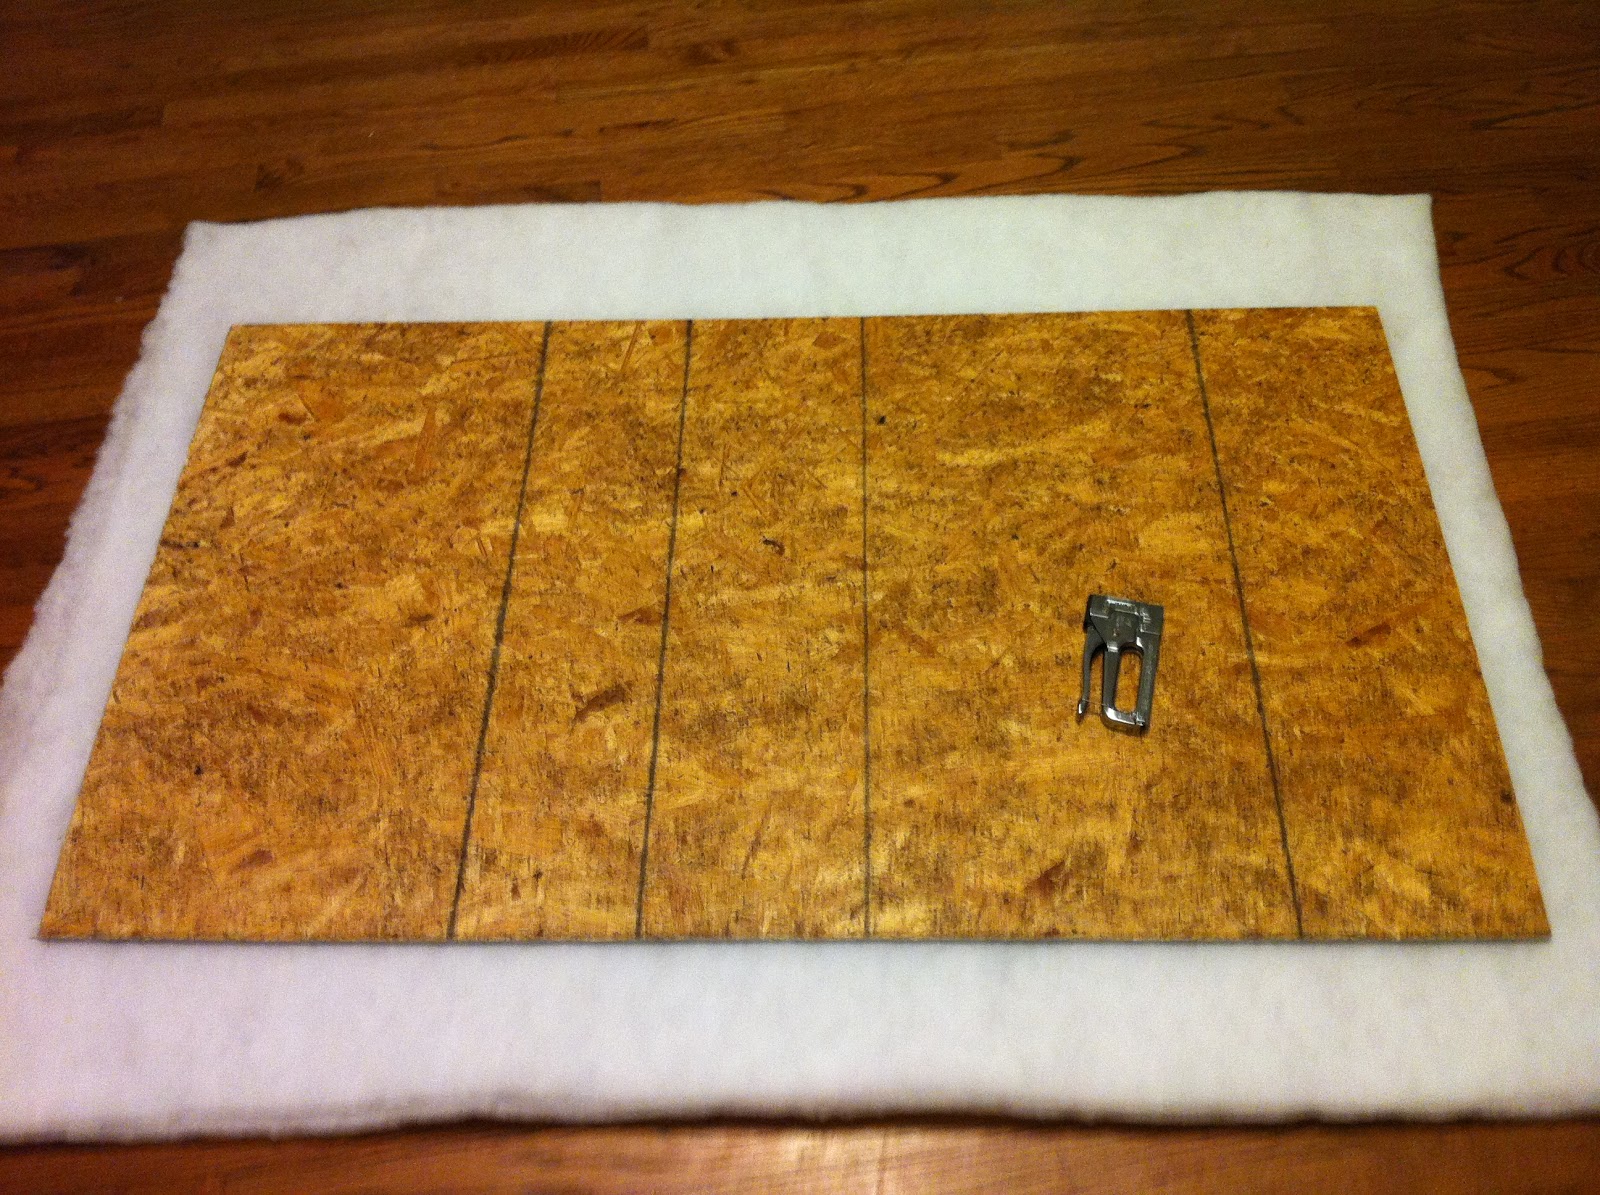
First I measured on the wall how big I wanted my headboard. I easily did this by putting painter's tape on the wall in the silhouette of the headboard. Once I had my measurements, off I went to HD to buy a piece of plywood, which they cut for free! While I was there I needed to buy a staple gun and staples, since this was my first upholstering project. My grand total here came to around $20. My next stop was Hancock's Fabrics to pick up some batting and fabric. I thought an earthy lime green color would look nice with the wall color, and luckily they had it and it was 50% off (I got upholstery fabric because it's thick and easy to work with). I bought 2 1/2 or 3 yards of fabric and the same amount of the thick 2" batting, which was also on sale. Grand total here was $25. So my new headboard cost around 45 bucks, not too shabby.
Matthew was sick one Friday and went to bed early so I used this as an opportunity to work on my project (of course I was as quiet as I could be with a staple gun, but I did close the bedroom door). Luckily, he had taken nyquil so I didn't bother him ;) First, I laid out the batting and then centered the plywood on it. There wasn't too much overhang so I didn't bother trimming it yet. To get started, I pulled the batting very tightly and stapled at 12, 6, 3 and 9 o'clock. The most important thing is to make sure you are pulling the batting very tightly- you don't want any loose gaps. Then I just stapled every 1/2" or so all around the board until the fabric and batting were both secure and free from loose gaps.

After the batting was stapled, I trimmed the overhang and then repeated the process with the fabric. Then voila, you have a headboard, almost.

The next day, Matthew was feeling much better so he went to HD and got a picture hanging kit so that we could hang our new headboard. He did a great job hanging/ centering it! Here it is:

So the room was beginning to come together but it wasn't near complete. While I was home for Christmas, I was looking around my parent's house and I came across a lamp that was in the office/ sewing room. My parents have had that lamp since before I was born! The base was brass with a big black drum shade. I immediately saw potential :) So my generous mother gave me the lamp and now it was just a matter of deciding what color I wanted to paint the base. I decided on yellow! (sorry for no before pics but just imagine a rusted brass color)


Once I got the pillows on the bed and chair in the corner, I wasn't loving that black lamp shade. I thought about recovering it with a fun print but eventually I just replaced it with this shade from Target. I think it really lightens up the room better.

I also added a mirror in here. Remember this mirror in our living room when we first moved in?

Well I decided to hit it with some earthy lime green spray paint. I think it looks great in here, especially with the green headboard.

Here's the other wall in the guest room. It currently has an old chest that I want to either paint or stain, when the time comes. (please excuse the mess on top and laundry basket) The door on the left is the closet.

So there you have it, our guest room went from looking like this:
to this:

Now all we need to add is some art, curtains, and a rug.
No comments:
Post a Comment
I would love to hear from you! Please leave a comment or become a follower of my blog! Thanks so much!