
It's large frame size made me think about the vintage map I picked up on my trip to Savannah and realize that I still haven't framed it! Remember, this one:

I really had no use for the floral "February" print that was currently in this frame so I was excited to get it home and find that my vintage map fit perfectly! Fail. Yeah, my map was 2-3 inches too small so I was bummed for about 2 seconds. Then I remembered I recently pinned this on Pinterest:

I pinned this for the bottom frame- using ribbon and pins to display photos. Since my new frame didn't work out for what I had originally planned, I thought this might be a good one to try this. So I removed the backing and was left with this:

After taking it out to the garage, I sprayed 2 coats of red on the frame. You might be wondering, why did I choose red? Because I already owned it and didn't have to go to the store, haha!


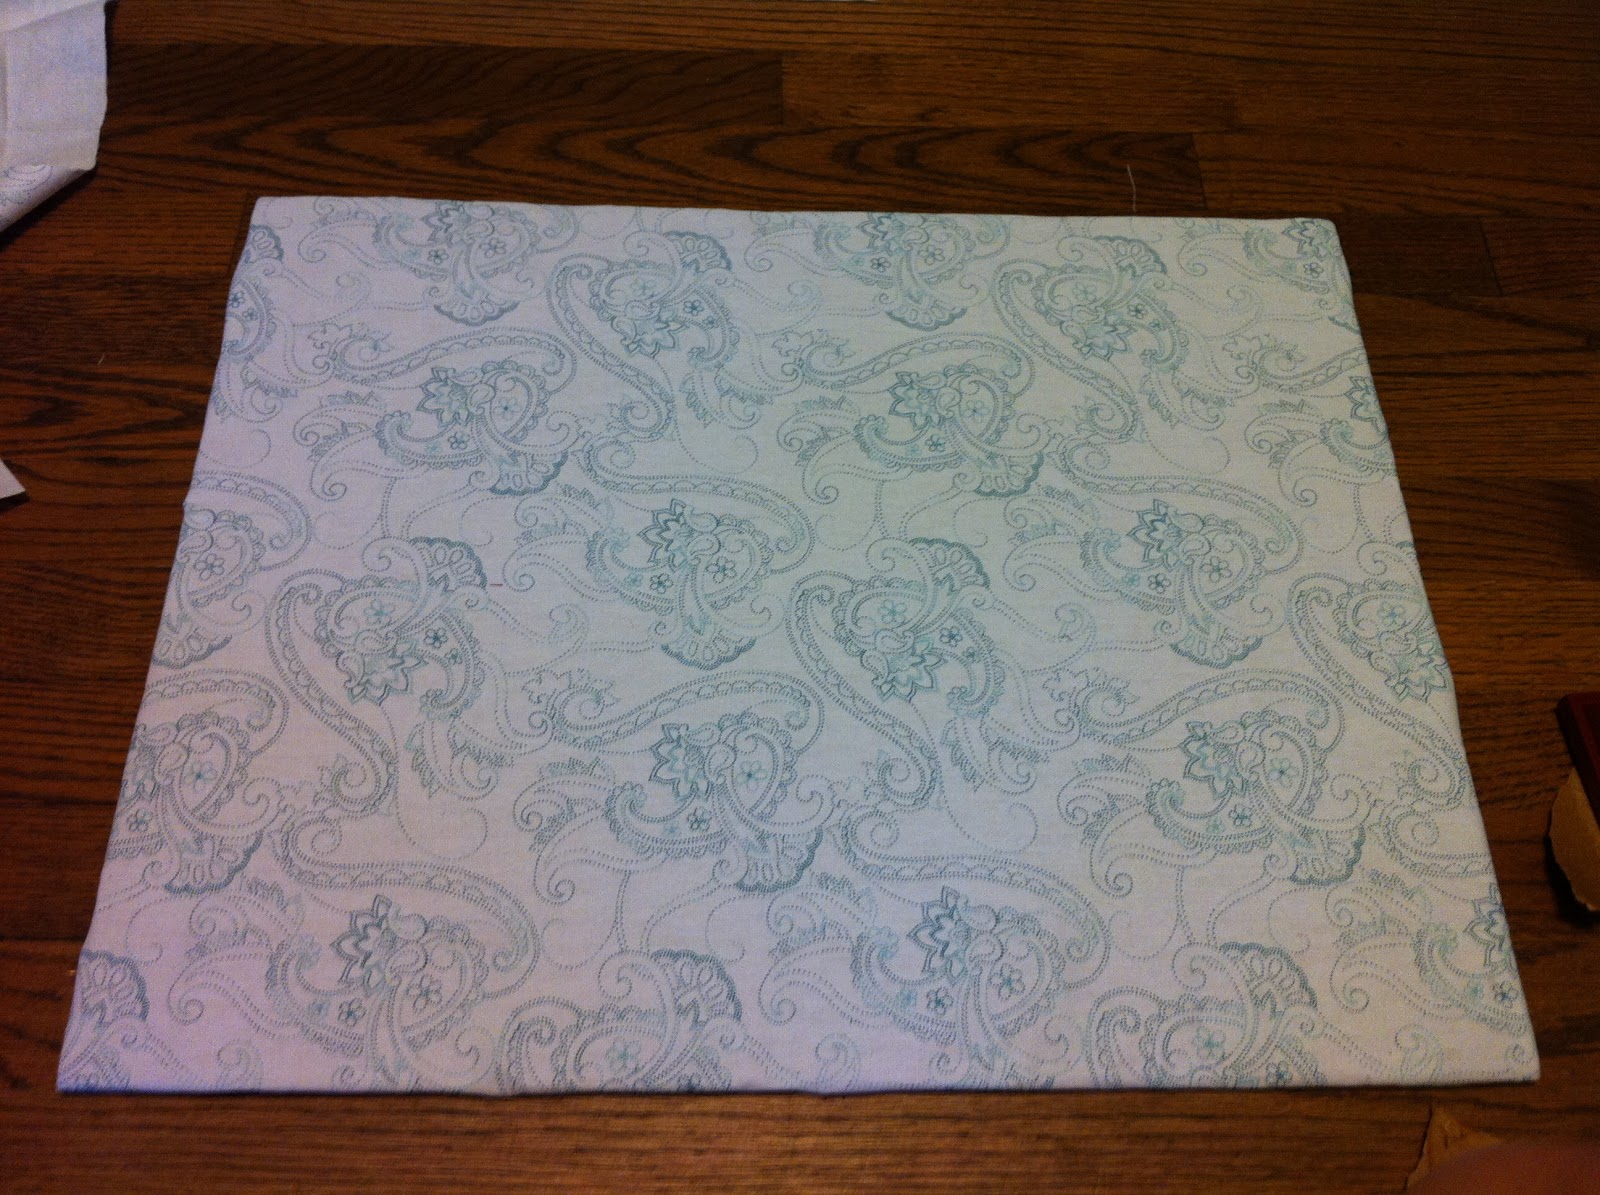
After I painted it, I shopped around Hancock Fabrics for some fabric to use for the background. Another option would be to use scrapbook paper, wrapping paper, really anything with a design that you like. I went with this print:

The reason I chose this fabric is the white background and muted turquoise color print. I didn't want to use anything too busy because, after all, this is to display photos- I'm not wanting to display the fabric. Luckily, the fabric was on sale and I got a yard for less than $7! Next stop was HD for some jute. Got this roll for less than $3 and I know I will use it again!

To cover the backing of the frame in fabric, I used the same method I used when upholstering the headboard for the guest room (find that here) The only difference is that I didn't use my staple gun- believe me, I tried, and I stapled my cardboard to the floor! Haha. So I just used a regular old stapler. You could also use a spray adhesive.

And here it is all stapled:

Next I had to attach my jute strings to hold the photos. I just eyeballed where I would want them to hang and stapled the jute on the back. I did leave a little slack in the string because I wanted it to look a little more casual.

Finally, I inserted the backing into the frame, added my photos with clothespins, and voila:


FYI, this is the 3rd bedroom that I posted about yesterday. The wall with the desk is directly behind the fireplace.


So that's my craft project for this week! What do ya think? It came a long way from this:
|
| Before |
| |
| After |
Total breakdown for this project:
Framed picture- $6
Red spray paint- already owned
1 yard of fabric- $7
Jute- $3
Clothespins- already owned
Total cost: $16
Check out this post on Shabby Chic Cottage
Framed picture- $6
Red spray paint- already owned
1 yard of fabric- $7
Jute- $3
Clothespins- already owned
Total cost: $16
Check out this post on Shabby Chic Cottage

No comments:
Post a Comment
I would love to hear from you! Please leave a comment or become a follower of my blog! Thanks so much!